



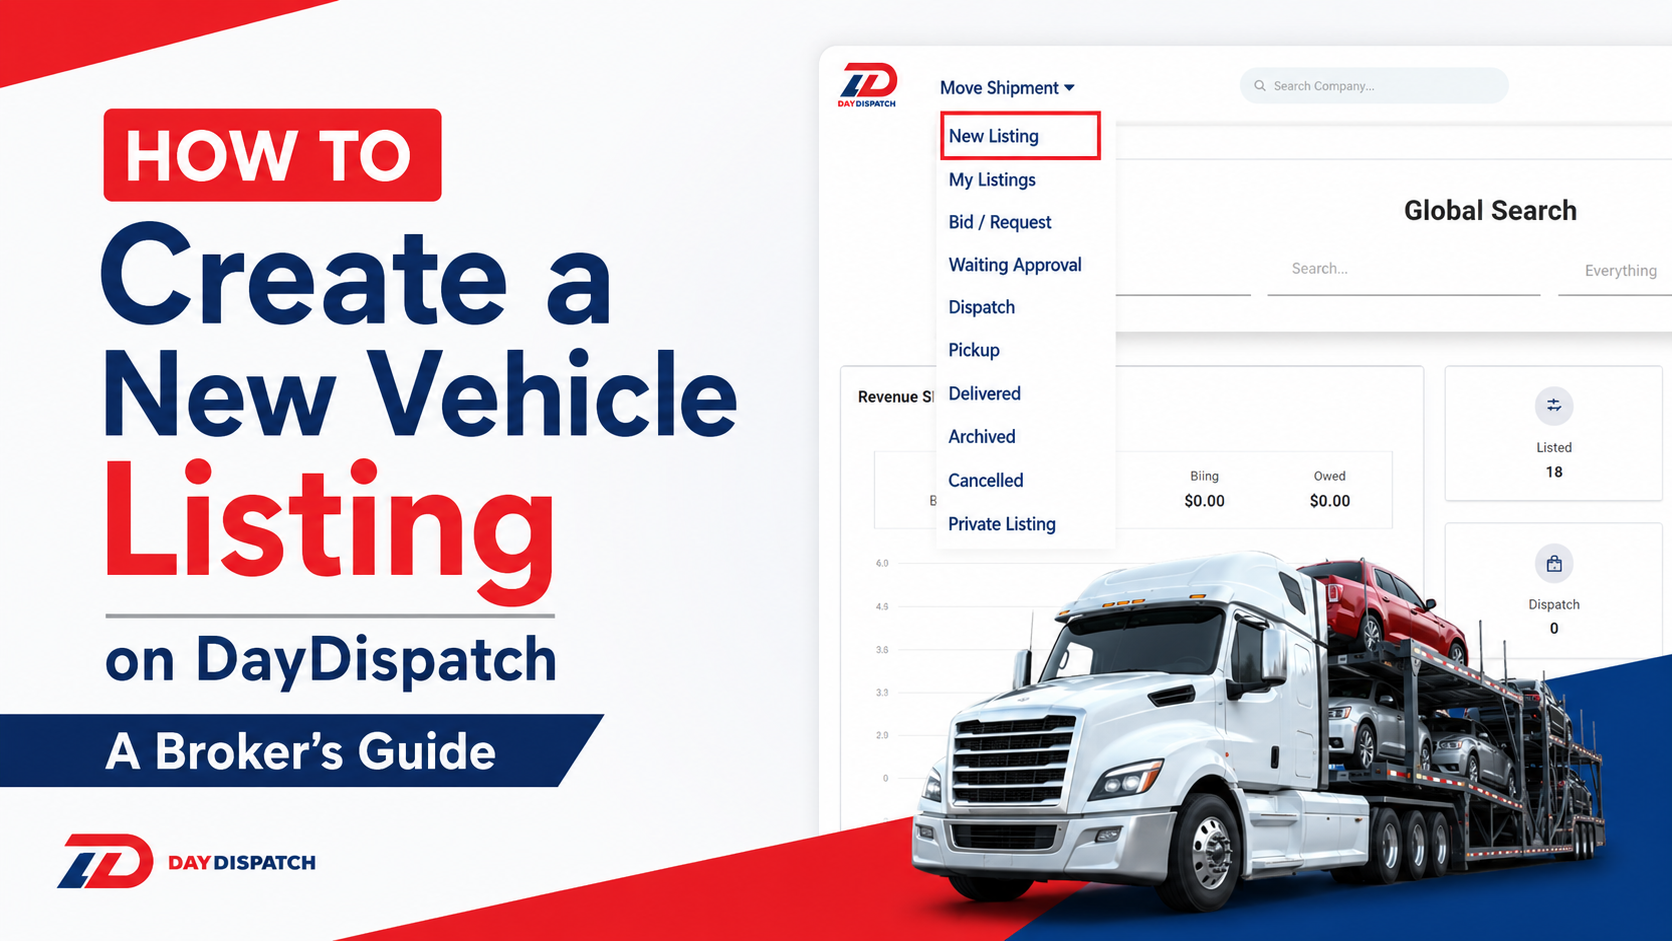
How to Create a New Vehicle Listing on DayDispatch — A Broker's Guide
Learn how to create a new vehicle listing on DayDispatch with this step-by-step broker’s guide. Add vehicle details, set shipment info, and publish listings efficiently.
Introduction
If you're a broker on DayDispatch, posting a vehicle listing is the first step to connecting with the right carrier for your shipment. Whether you're shipping a standard car, an SUV, a motorcycle, or a specialty vehicle, the New Listing form walks you through everything you need. This guide will walk you through every step clearly so your listing goes live without any issues.
Step 1: Log In and Navigate to the Broker Dashboard
Once you log into your DayDispatch account, you will land on your main dashboard. From the top navigation bar, locate the Move Shipment section and click on it. You will see the Broker dropdown list which contains all your listing tabs including New Listing, My Listings, Bid/Request, Waiting Approval, Dispatch, Pickup, Delivered, and more.
Click on the New Listing tab. This is your starting point.

Step 2: Choose Your Listing Type
Inside the New Listing tab, you will see three options at the top:
Post Vehicle is for standard road vehicles like cars, SUVs, motorcycles, vans, and boats. Post Heavy Vehicle is for heavy equipment like excavators, bulldozers, or industrial machinery. Post Freight Load is for cargo and freight shipments.
Since we are creating a vehicle listing, click on Post Vehicle (you will be redirected there by default).

Step 3: Fill In the Vehicle Information
This is the core section of your listing. Fill in the following details carefully.
- VIN Number is the first field. Enter the Vehicle Identification Number of the vehicle. Entering a valid VIN helps the system identify the vehicle correctly, so double check it before moving on.
- You can also add the details manually like Year, Make, and Model.
- Year is the model year of the vehicle. Enter a four-digit year such as 2022. Make sure you enter a valid year and not a future year.
- Make is the manufacturer of the vehicle. For example, Toyota, Ford, or Honda
- Model is the specific model name. For example, Camry, F-150, or Civic.
- Color is the exterior color of the vehicle. Enter it as clearly as possible such as White, Black, or Silver.
- Vehicle Type is a dropdown where you select the category of the vehicle. Your options include Car, SUV, Pickup, Van, Motorcycle, ATV, Mini Van, Cargo Van, Passenger Van, Boat, Large Yacht, RVs, Travel Trailer, and Others. Select the one that best describes the vehicle you are shipping.
- Vehicle Condition tells the carrier whether the vehicle can be driven onto the trailer or needs to be winched. Select Running if the vehicle starts and moves on its own. Select Not Running if it does not.
- Trailer Type determines how the vehicle will be transported. Open means the vehicle is loaded on an open-air trailer. Enclosed means the vehicle is fully covered and protected, recommended for luxury or classic cars. Drive Away means a driver will physically drive the vehicle to the destination with no trailer involved.
- Additional Vehicle Information is a free text area where you can add any extra details about the vehicle that do not fit in the fields above. For example, you might note aftermarket modifications, low ground clearance, or special handling instructions.

Step 4: Enter the Origin Location
This is where the vehicle is currently located and needs to be picked up from.
First select the facility type from the dropdown. Choose Terminal if the vehicle is at a logistics terminal, Dealer if it is at a car dealership, or Auction if it is at an auction house, or any other option according to the current location of the vehicle.
- Enter the Name of the facility or contact person at the origin.
- Enter the Email Address of the origin contact so the carrier can reach them.
- Enter the Phone Number of the origin contact.
- Fill in the Address and Address 2 if there is a specific bay, gate, or unit number.
- Select the State, enter the City, and enter the Zip Code. These three fields are required and must be accurate for the carrier to locate the pickup point.
Step 5: Enter the Destination Location
This section is identical in structure to the Origin Location but refers to where the vehicle needs to be delivered.
Follow the same steps as above and make sure the destination contact information is accurate. A wrong phone number or address here can result in a failed delivery. If the destination is a private residence, select the most appropriate facility type and note it clearly in the Special Instructions field later.
Step 6: Set Your Pickup and Delivery Dates
In the Date and Time section, you will define when the vehicle should be picked up and delivered.
For Pickup Date, select whether the pickup should happen Before, On, or After a specific date. Before means the carrier must pick up the vehicle no later than that date. On means the pickup must happen on exactly that date. After means the pickup can happen any time after that date.
For Delivery Date, the same Before, On, and After options apply. This tells the carrier your expected delivery window.
Pickup From and Pickup To let you define a time window during which the carrier can arrive for pickup. For example, 9:00 AM to 5:00 PM.
Delivery From and Delivery To work the same way for the delivery end.
Always make sure your pickup date comes before your delivery date. If these dates conflict, your listing may cause confusion for carriers reviewing it.

Step 7: Set Up Carrier Payment
This section defines how much the carrier will be paid and how the payment is structured.
- Book Price is the total agreed price for the transport job. This is the top-level amount.
- Deposit Amount is the upfront amount collected before the job begins. Enter the deposit value here.
- Pay To Carrier is the amount the carrier receives. This is a required field.
- COD/COP Amount stands for Cash on Delivery or Cash on Pickup. This is the amount the carrier collects at the time of pickup or delivery. Enter this carefully.
- Balance Amount is the remaining balance after the deposit. This should ideally calculate automatically but always verify it is correct before submitting.

Step 8: Fill In Additional Information
Order ID is a required field. Enter your internal reference number or order identifier for this shipment. This helps you track the listing across all tabs in the Broker Index.
Upload Vehicle Images by clicking Choose File and selecting clear photos of the vehicle. Front, rear, and side photos are recommended. Accepted formats are JPG and PNG. Upload images before submitting to give carriers a clear visual of the vehicle condition.
Additional Terms is where you add any contractual terms specific to this shipment. For example, you might state that the carrier is responsible for any damage during transit.
Special Instructions is for anything the carrier needs to know that does not fit elsewhere. Examples include gate entry codes, parking restrictions, contact-ahead requirements, or specific loading instructions.
Notes From Customer is where you can paste or type any notes the vehicle owner or customer has passed on to you as the broker.
Select Contract from the dropdown to attach the relevant transport agreement to this listing. Make sure a contract is selected before submitting.
Step 9: Review Before Posting
Before you click Post Listing, take a moment to review everything. Check that the VIN is exactly 17 characters. Confirm the pickup date is before the delivery date. Make sure the Pay To Carrier amount is filled in since it is a required field. Verify the origin and destination addresses are complete with state, city, and zip code. Confirm the Order ID is filled in.
If you are not ready to post yet, you have two options. You can click Draft Listing to save your progress and come back later. You can also use Schedule Listing if you want the listing to go live at a specific future date and time.
Step 10: Post the Listing
Once everything looks good, click the Post Listing button. Your listing will be submitted and will appear in your My Listings tab under the Broker Index. From there you can monitor bids from carriers, assign a carrier, or send carrier outreach directly.
What Happens Next
After posting, your listing enters the active load board where carriers can view and bid on it. You will be able to see all incoming bids and requests under the Bid/Request tab. Once you approve a carrier, the listing moves to Waiting Approval, then Dispatch, then Pickup, and finally Delivered when the job is complete.
That is everything you need to post a vehicle listing on DayDispatch. If you run into any issues during the process, use the Chat with us button on the platform or reach out to your DayDispatch account manager.