



How to Assign a Load to Carrier on DayDispatch — A Broker’s Guide
Learn how brokers can efficiently assign a load to a carrier on DayDispatch. This guide covers selecting available carriers, reviewing carrier details, confirming load requirements, and completing the assignment process to ensure smooth dispatch operations and reduced delays.
Introduction
Once a broker posts a listing on DayDispatch, the next important step is assigning that load to the right carrier. A proper load assignment ensures faster dispatch, smooth communication, timely pickup, and successful delivery.
DayDispatch allows brokers to either wait for carrier bids through the Requested/Bid section or directly assign the load to a specific carrier from the My Listing page.
In this guide, we will focus on the direct assignment process, how a broker can manually assign a listing to a carrier and move it through approval and dispatch.
Step 1: Log In to Your DayDispatch Account
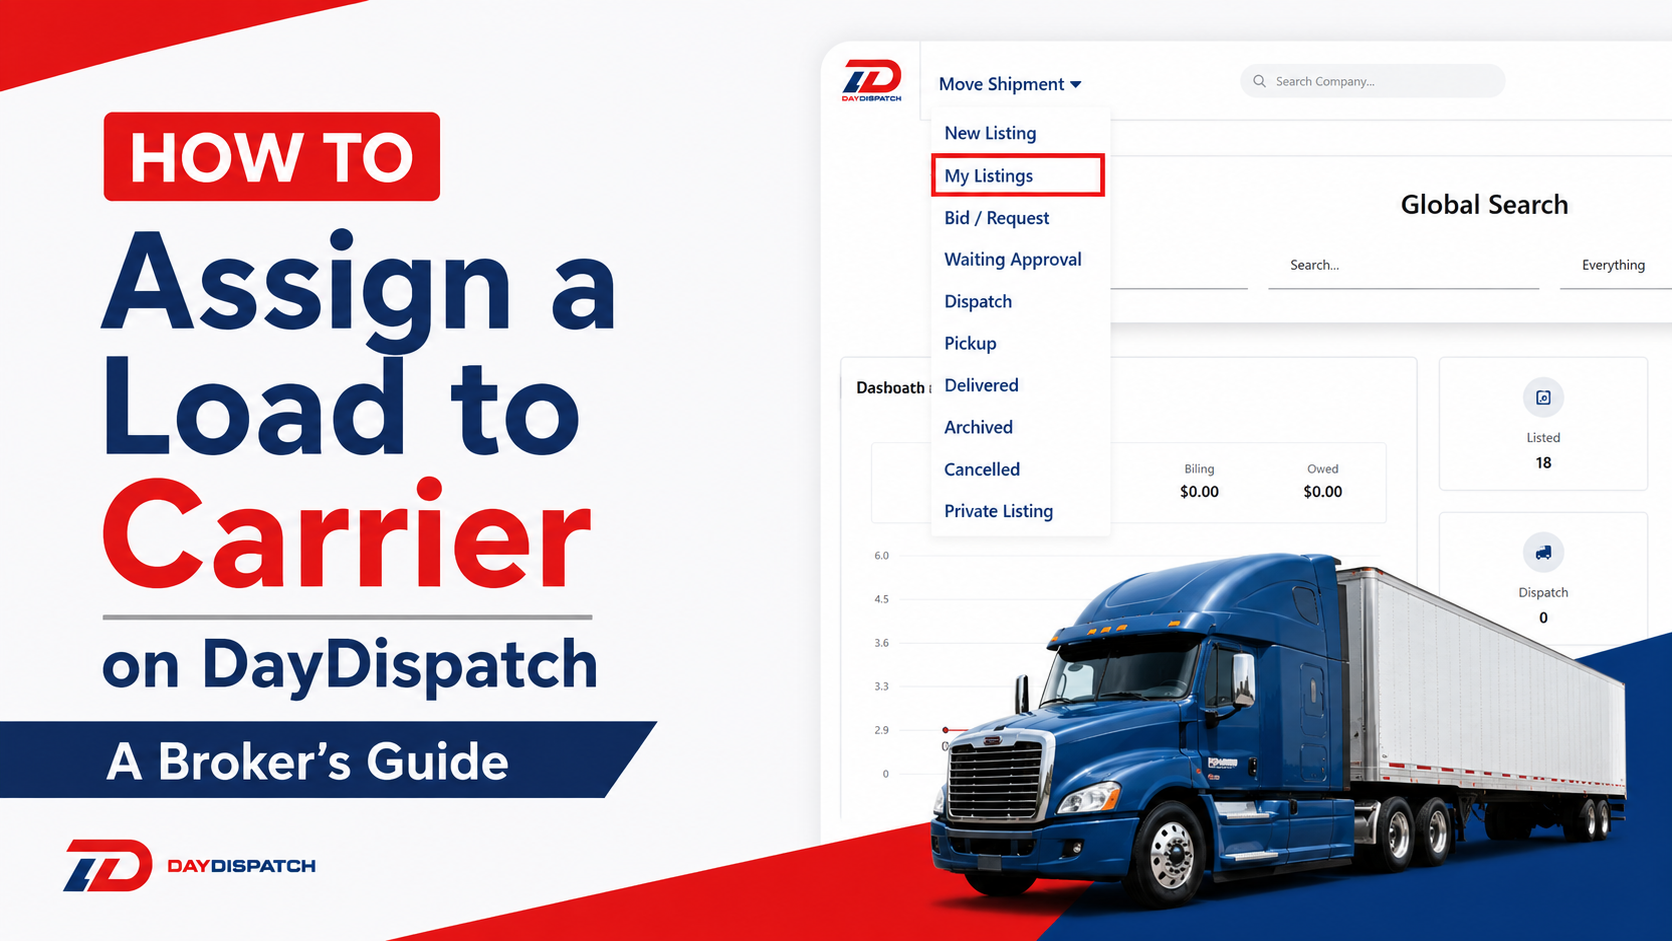
Once you log into your DayDispatch account, you will land on your main dashboard. From the top navigation bar, locate the Move Shipment section and click on it. You will see the Broker dropdown which contains all your listing tabs including New Listing, My Listings, Bid/Request, Waiting Approval, Dispatch, Pickup, Delivered, Archived, Cancelled, and Private Listing.
Click on the My Listings tab. This is where you can see your listings.

Step 2: Click on the Assign Action Button
Inside the My Listing page, locate the specific listing and click on the Assign action button. This will redirect you to the same listing form that was originally used to create the load posting. This allows brokers to review the complete listing details again before final assignment.

Step 3: Enter the Carrier Company Name
Inside the listing form, locate the Company Name field. Here, type the name of the carrier company you want to assign the load to. As you start typing, a dropdown list will automatically appear showing matching carrier companies available in the system. Select the correct carrier from the dropdown. This ensures the listing is assigned to the right registered carrier profile.

Step 4: Review the Complete Listing Information
After selecting the carrier company, you will have full access to review the complete listing form again. This includes; Vehicle Information, Route Information, Pricing Information, and any other Additional Information. If needed, you can update or correct any information before final assignment. This step helps prevent dispatch errors and ensures accurate shipment details.
Step 5: Click on Assign Listing Button
Once everything is reviewed and finalized, scroll to the bottom of the form and click the Assign Listing button. This officially sends the load assignment request to the selected carrier. At this stage, the listing will move from My Listing to the Waiting Approval page. This means the broker has sent the assignment request and is now waiting for the carrier’s response.

Step 6: Listing Moves to Waiting Approval
After assignment, the load appears in the Waiting Approval section. This page shows all listings that have been assigned but are still pending carrier confirmation.
The carrier will review:
- Shipment Details
- Pickup and Delivery Information
- Payment Terms
- Dispatch Instructions
- Attached Contract Terms
The carrier can either:
- Accept the Request
- Decline the Request
The broker has to wait for the carrier’s decision.
Step 7: If Carrier Accepts
If the carrier accepts the load assignment request, the listing is automatically moved to the Dispatch Page.
This means:
- The load is officially assigned
- Dispatch workflow begins
- Shipment tracking starts
- Both broker and carrier are connected for shipment execution
Step 8: If Carrier Declines
If the carrier declines the assignment request, the listing is automatically moved to the Cancelled Section.
This helps brokers keep track of rejected assignments without losing the original listing data.
Common reasons for decline include:
- Carrier unavailable
- Rate disagreement
- Route mismatch
- Equipment not available
- Scheduling conflicts
The listing is not lost, it simply moves to cancelled for broker review.
Step 9: Replicate the Listing and Post Again
From the Cancelled Section, brokers have the option to Replicate the listing.

This allows you to:
- Duplicate the same listing
- Make necessary changes
- Select a new carrier
- Post the load again without creating it from scratch
This saves time and improves workflow efficiency, especially when reassigning loads quickly.
Best Practices for Brokers
Verify Carrier Before Assignment
Always confirm the carrier profile, documents, and previous performance before assigning.
Review Listing Before Final Submission
Since the full form opens again, use this opportunity to double-check all shipment details.
Keep Accurate Pricing
Ensure the agreed carrier pay is correct before sending the request.
Track Waiting Approval Closely
Do not leave listings pending for too long, follow up with carriers when necessary.
Use Replicate Smartly
If a carrier declines, replicate quickly and assign to another qualified carrier to avoid delays.
Common Mistakes to Avoid
Avoid these common broker mistakes:
- Selecting the wrong carrier from dropdown
- Assigning incomplete listing information
- Incorrect pickup or delivery dates
- Wrong carrier payment details
- Ignoring declined listings
- Not following up on waiting approvals
- Reposting manually instead of using replicate
Avoiding these mistakes improves assignment speed and delivery success.