



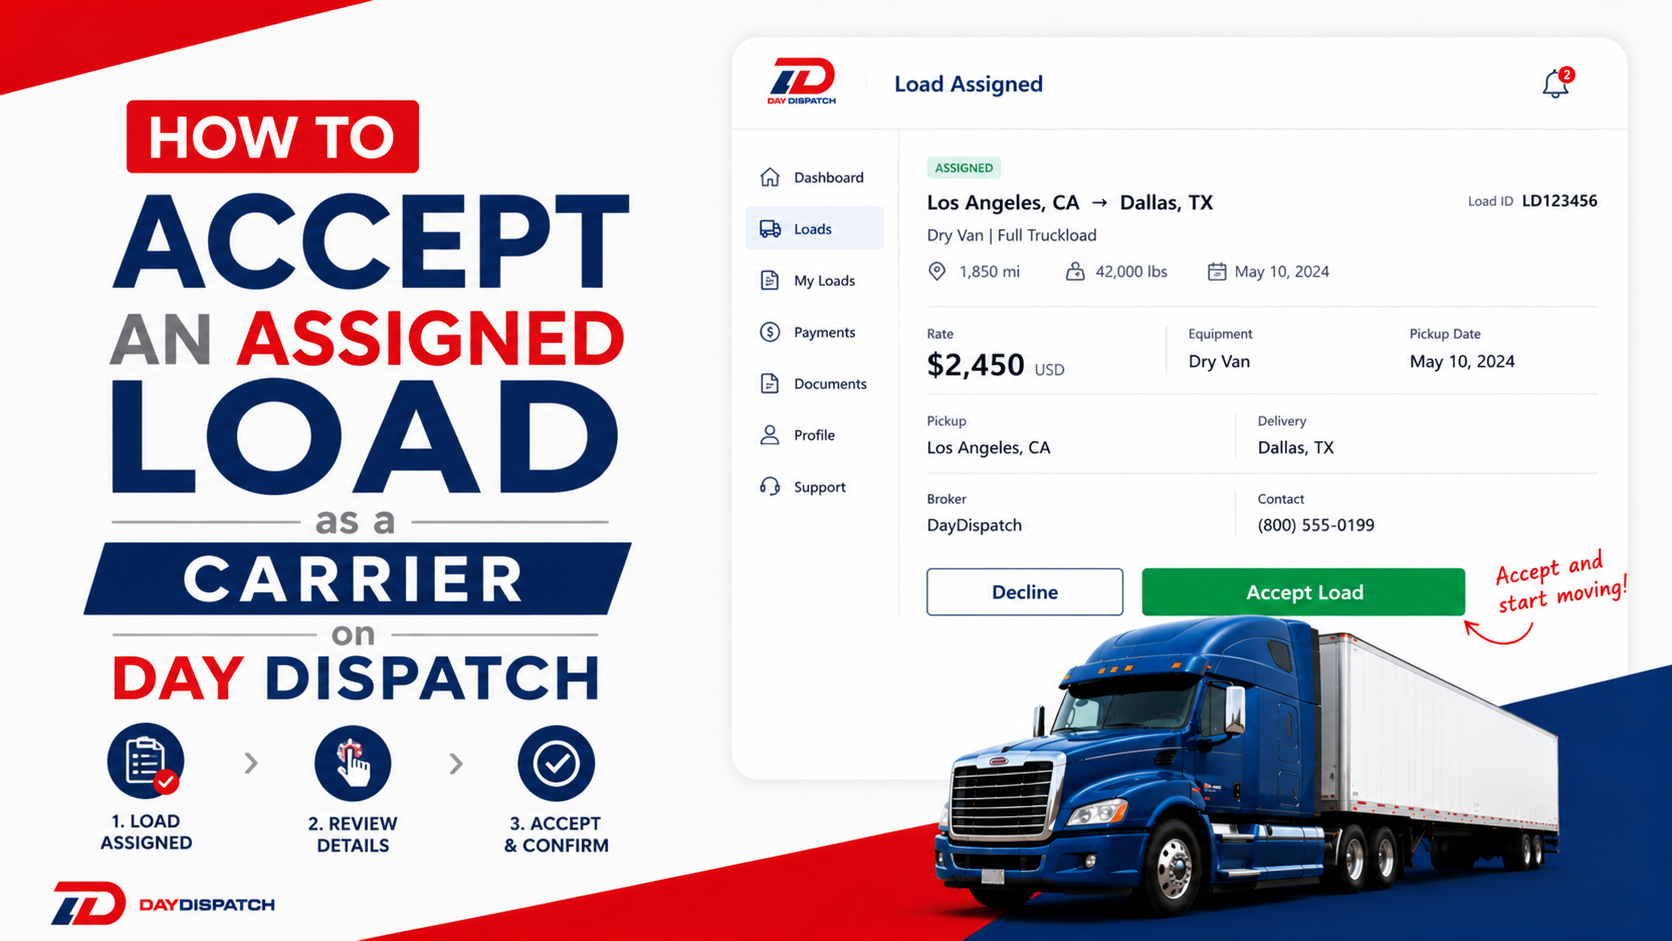
How to Accept an Assigned Load as a Carrier on Day Dispatch
Learn how carriers can efficiently accept an assigned load on Day Dispatch, review shipment details, confirm availability, and update load status to ensure smooth coordination with brokers and dispatchers.
Introduction
On Day Dispatch, there are two ways a carrier can get a load, either by requesting one directly from the loadboard, or by having a broker assign a load to them directly. This guide covers the second scenario: when a broker has already chosen you as their carrier and assigned the load straight to your account.
When this happens, you don't need to search for the load or place a bid. The broker has already made the decision. All you need to do is review the details, agree to the terms, and accept. Here's exactly how that process works from start to finish.
Step 1: Log In to Your Carrier Account
Go to the Day Dispatch website and log in using your registered carrier email and password. Once you're in, you'll land on your main carrier dashboard where you can access all your active and incoming loads.
Step 2: Navigate to the Waiting Approval Page
From your dashboard, look for the Search Shipment section in the navigation and open the carrier listing tabs. Click on Waiting Approval. This is the page where all loads that have been directly assigned to you by a broker will appear, waiting for your response.


Step 3: Review the Assigned Load
On the Waiting Approval page, you'll see the listing laid out with all the key information you need to make your decision. For each assigned load, you can see:
- Listing ID: The unique identifier for this order so you can reference it in any communication with the broker or Day Dispatch support.
- Company Name and Details: Information about the broker or company who has assigned this load to you, so you know exactly who you're working with
- Pickup and Delivery Location: The origin and destination of the shipment, giving you a clear picture of the route you'll be taking.
- Load Info: Details about the vehicle or freight being transported, including type, condition, and any relevant specifications.
- Payment Details: The job price, pay mode, and any COD or deposit amounts agreed upon for this load.
- Dates: The expected pickup and delivery dates so you can confirm the schedule works for you before accepting.

Take your time reviewing all of this information carefully. Once you accept, you are committing to the terms of this job.
Step 4: Click on Your Preferred Action Button
On each load listing in the Waiting Approval page, you'll find three action buttons:
- Accept Offer: Click this if you're ready to take on the load and agree to the terms.
- Decline Request: Click this if you cannot take the load or do not wish to proceed with this particular assignment.
- View Details: Click this if you want to review the full order details before making a decision.
Clicking any of these three buttons; including Accept Offer and View Details. will redirect you to the Order Agreement page where the full details of the load are displayed.

Step 5: Review the Order Agreement Page
The Order Agreement page is where you get a complete and detailed view of everything related to this load, the vehicle or freight details, full pickup and delivery information, payment breakdown, dates, and any contract terms or additional terms the broker has attached to this order.
Read through everything on this page carefully. This is your formal agreement for the job, so make sure every detail matches what you discussed or expected. Pay close attention to the payment terms, the pickup window, and any special instructions listed.
Step 6: Accept the Terms and Sign
At the bottom of the Order Agreement page, you will find a checkbox with the following text:
"I have read and accept the Terms & Conditions for this transport."
Check this box to confirm that you have reviewed and agree to all the terms laid out in the agreement.
Once the checkbox is ticked, two more fields will become active:
Your Name: Type your full name in the field provided. This serves as your formal identification on the agreement.
Digital Signature: Sign digitally in the signature area using your mouse or touchpad. This is your legally binding signature on the transport agreement.

Step 7: Click Accept
Once you've checked the terms box, entered your name, and signed digitally, click the Accept button at the bottom of the Order Agreement page.
That's it, the load is now officially yours. Day Dispatch will process the acceptance and the listing will be confirmed to your account.
Step 8: Find Your Load on the Dispatch Page
After accepting, head over to the Dispatch page in your carrier listing tabs. The load you just accepted will now appear here with all its details, Listing ID, broker company information, route, load info, payment, and dates. This is where you'll manage the load as it moves forward through pickup and delivery.


What If You Want to Decline?
If you click the Decline Request button on the load listing from the Waiting Approval page, a popup will appear asking you to select a reason for declining. Simply choose the reason that best applies from the dropdown and confirm. The load will be rejected and returned to the broker's side without any further action required from you.

You won't be redirected to the Order Agreement page in this case, the decline popup handles everything quickly and directly from the Waiting Approval page itself.
That covers everything a carrier needs to know about accepting a directly assigned load on Day Dispatch.