



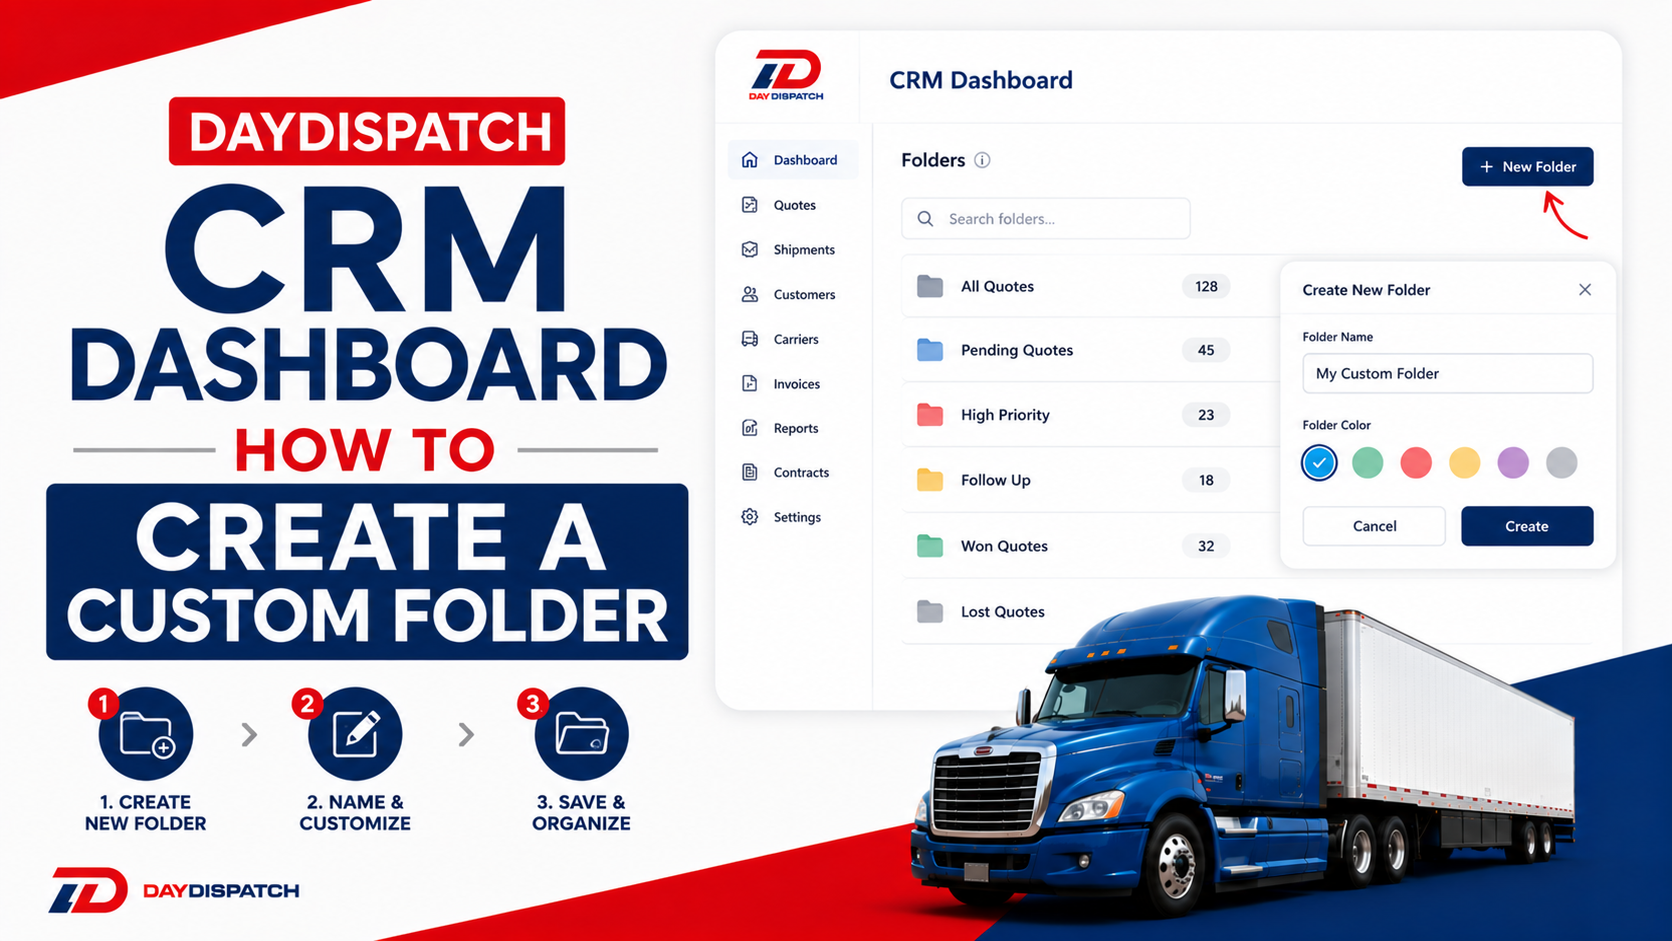
DayDispatch CRM Dashboard — How to Create a Custom Folder on CRM Dashboard
Learn how to create a custom folder in the Day Dispatch CRM Dashboard to better organize and manage your quotes, orders, customers, and workflow. This step-by-step guide walks you through the process of creating personalized folders, assigning records, and keeping your CRM organized for improved productivity and faster access to important information.
Introduction
The DayDispatch CRM Dashboard allows brokers to organize their quotes into custom folders so they can easily track different stages of communication with customers. These folders help structure the workflow by separating quotes based on status such as Follow Up, Interested, or any custom category the broker wants to create.
Accessing the CRM Dashboard
To begin, the broker first logs into the DayDispatch system using their registered account. After successful login, they are taken to the main dashboard. From there, the broker needs to open the CRM module by clicking on the CRM option in the sidebar menu. This will take them into the CRM dashboard, which is the central workspace for managing all quotes, customers, and shipment activities.

Opening Custom Status Page
Once inside the CRM dashboard, the broker navigates to the sidebar and selects the Custom Status page. This section is used to create and manage custom folders that will later appear inside the Manage Quotes area. When the page loads, it will show an input field where new status options can be created.

Creating a New Custom Folder
To create a new folder, the broker simply enters the desired folder name in the field labeled Option Name.

This can be anything that helps organize the workflow, such as “Follow Up,” “Interested,” or any other status relevant to their process. After entering the name, the broker clicks on the Add Option button. Once this is done, the system automatically creates the new folder and stores it inside the CRM configuration.
After creation, the new custom folder becomes visible inside the Manage Quote section in the CRM sidebar, where all quotes are organized and managed.
Moving a Quote to a Custom Folder
After creating a folder, the broker can assign any quote to it. To do this, the broker goes to the New Quotes folder, and clicks on the Quote History button for the specific quote they want to update. This opens a popup window that contains the quote activity and status update options.

Inside this popup, the broker will find a dropdown field labeled History/Status. From here, they can select the custom folder they created earlier. After selecting the folder, the broker also chooses the relevant date in the date field and writes a short history note describing the update or customer interaction.

Once everything is filled in, the broker clicks Save Changes. The system will then update the quote and move it into the selected custom folder inside the Manage Quotes section.
Conclusion
In simple terms, creating a custom folder in the CRM Dashboard is a way to organize quotes based on their progress. Brokers can create their own status labels, assign quotes to them using the Quote History option, and keep all their deals structured in a clean workflow. This helps improve visibility, makes follow-ups easier, and ensures that no quote is missed during the sales process.