



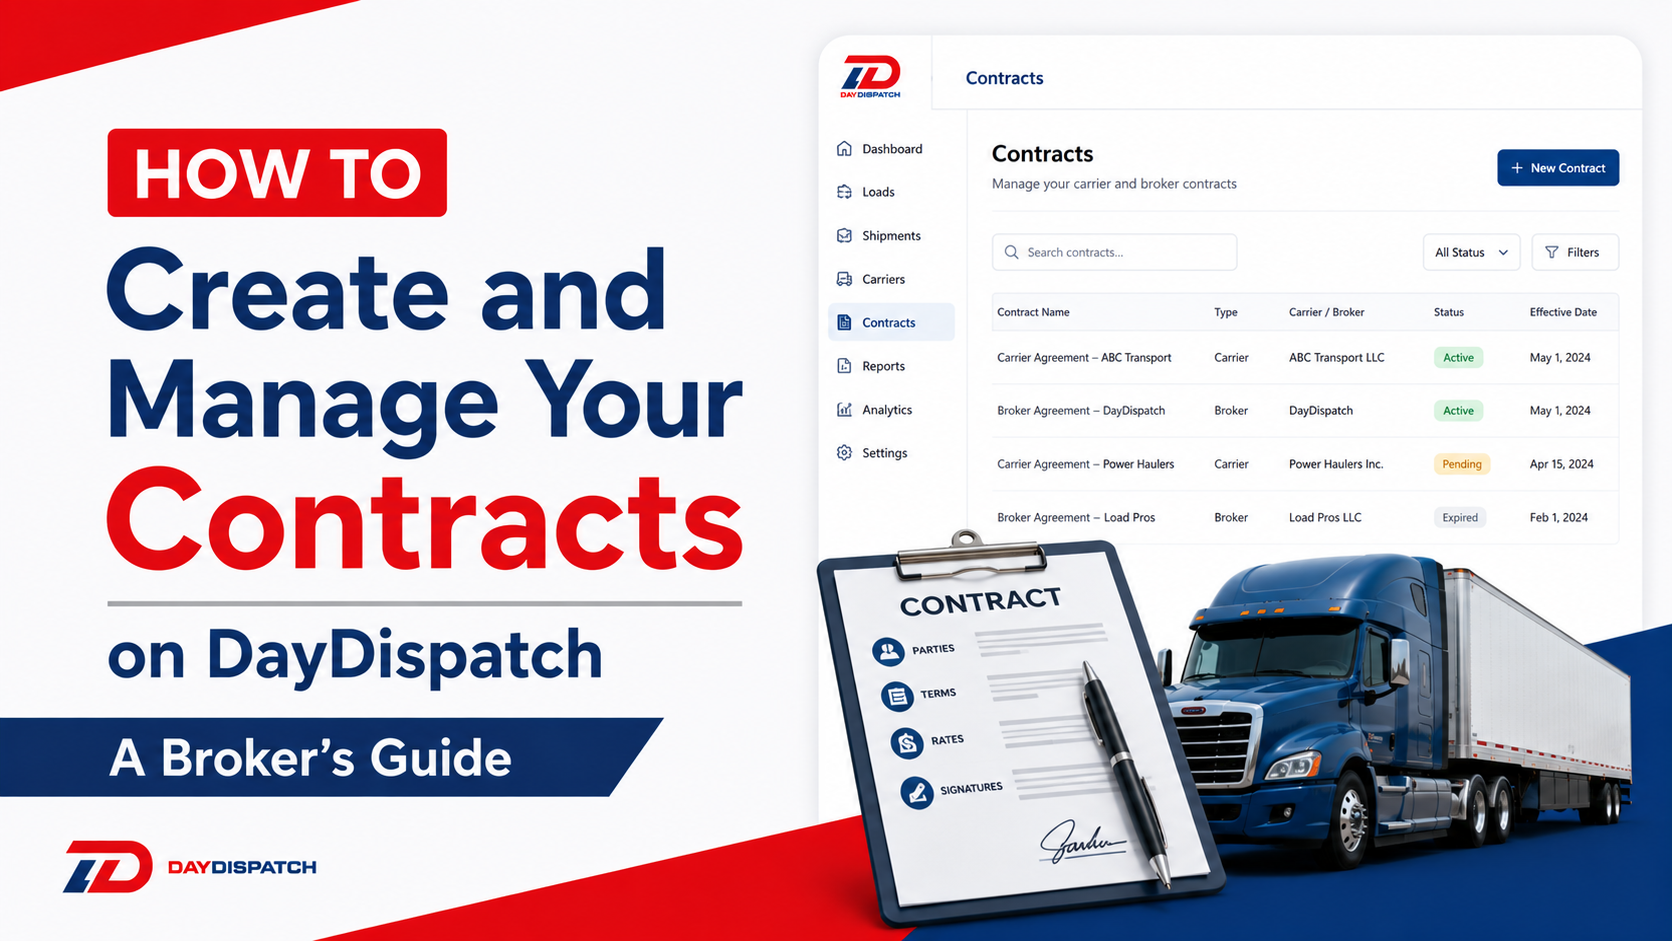
How to Create and Manage Your Contracts on DayDispatch — A Broker's Guide
Learn how to create and manage contracts on DayDispatch with this broker’s guide.
Introduction
As a broker on DayDispatch, your contract is one of the most important tools you have. It protects you legally, sets clear expectations for every carrier you work with, and gets attached directly to your dispatch sheets. Every carrier you work with will be required to sign your contract at the same time they sign the dispatch sheet, so having it set up correctly from the start saves you time on every single shipment you post.
This guide walks you through exactly how to create, save, name, view, and edit your contracts inside DayDispatch.
Step 1: Log In to Your DayDispatch Account
Open DayDispatch and log in using your broker credentials. Once you are logged in, you will land on your main Broker Dashboard. This is your central hub for all listing activity.
Step 2: Go to Your Profile
From the Broker Dashboard, look at the top navigation area. You will see your company name or profile indicator in the upper right corner of the screen. Click on it to open your account options.

From the dropdown that appears, locate and click on Account Settings. This will redirect you to your full profile management page.

Step 3: Navigate to the My Contracts Tab
Once you are on your profile page, you will see a row of tabs across the top of the page. These tabs include Edit Profile, My Profile, My Documents, My Contracts, My Address Book, My Network, and Notifications.

Click on the My Contracts tab. This is highlighted in red when active so it is easy to identify. This is where all your saved contracts live and where you will create new ones.
Step 4: Add a New Contract
Inside the My Contracts section, you will see a card that says Add New Contract with a simple bordered box design.

Click on Add New Contract. This will activate the contract editor at the bottom of the page. A large text area labeled Contract will appear, giving you a blank space to write or paste your contract content.
Step 5: Write or Paste Your Contract
In the Contract text area, you can either type your contract from scratch or paste in a pre-existing contract that you already use for your dispatches.
Your contract can include anything relevant to your business terms. Common things brokers include are payment terms and timelines, carrier liability for damage during transit, cancellation and no-show policies, insurance requirements, detention and layover charges, fuel surcharge terms, dispute resolution process, and any specific handling or compliance requirements for the types of freight you regularly ship.
Take your time writing this section. This contract will be shown to every carrier you work with and they will be required to sign it alongside the dispatch sheet, so clarity and completeness matter here.
Please Note: Once a contract has been signed by a carrier on a previous dispatch, modifying that contract will not change or override what was signed on that dispatch. The updated version will only apply to new dispatches going forward. This is an important legal distinction to keep in mind whenever you update your terms.
Step 6: Save Your Contract
Once you have finished writing or pasting your contract content, scroll down to the bottom of the page and click the Save Contract button. This button is displayed in red and runs the full width of the page so it is easy to find.
After you click Save Contract, the system will prompt you to give your contract a name. This name is for your own reference and organization. You can name it anything that helps you identify it quickly, such as Standard Carrier Agreement, T&C 2026, Reefer Transport Terms, or Heavy Haul Contract. Choose a name that makes sense for how you plan to use the contract across different listing types.

Once you enter the name and confirm, your contract will be saved and will appear as a card in the My Contracts section.
Step 7: View or Edit Your Saved Contract
After saving, your contract will appear as a card in the My Contracts section. Each contract card displays the contract name and two action icons at the bottom of the card.

The pencil icon is the edit button. Click it if you need to update the contract content. This opens the contract back into the text editor where you can make any changes you need and save again.
The eye icon is the view button. Click it to read the full contract without making any changes. This is useful for quickly reviewing your terms before attaching a contract to a listing.
The red X button at the top right corner of the contract card is the delete button. Use this carefully as deleting a contract removes it from your available contracts list. It will no longer be available to attach to new listings.
Step 8: Using Your Contract on a Listing
Once your contract is saved, it becomes available in the Select Contract dropdown that appears at the bottom of every listing form, including Post Vehicle, Post Heavy Vehicle, and Post Freight Load.
When you are posting a new listing, scroll to the Additional Information section at the bottom of the form. Locate the Select Contract dropdown and choose the contract you want to attach to that particular listing. This ensures that when a carrier accepts and signs the dispatch sheet, they are also agreeing to the terms of the contract you have selected.

If you manage different types of shipments, it is a good practice to create separate contracts for each type. For example, you might have one contract for standard vehicle transport, one for refrigerated freight, and one for heavy equipment hauls. Having separate contracts allows you to apply the right terms to the right shipment without confusion.
Tips for Managing Your Contracts Effectively
Keep your contract names descriptive so you can quickly identify the right one when posting a listing. Review your contracts regularly, especially when regulations or your business terms change. Remember that changes to a saved contract only apply to new dispatches and never to previously signed ones. If you handle multiple freight types, consider creating separate contracts tailored to each type. Always have a legal professional review your contract content before putting it into use on the platform to ensure your terms are enforceable and compliant.
What Happens After a Carrier Signs
Once a carrier accepts your listing and signs the dispatch sheet, they are simultaneously agreeing to the contract you attached to that listing. DayDispatch handles this process automatically at the time of dispatch. You do not need to chase signatures separately. The signed agreement is tied to that specific dispatch record, giving both you and the carrier a clear paper trail for that job.
That is everything you need to create and manage your contracts on DayDispatch. Setting this up properly at the start means every listing you post is backed by your terms from day one. If you have any questions or run into issues while setting up your contracts, use the Chat with us button on the platform or reach out to your DayDispatch account manager.